


How to Install a Welded Wire Fence: A Practical, Real-World Guide
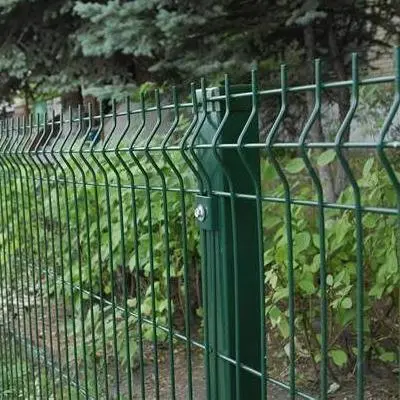
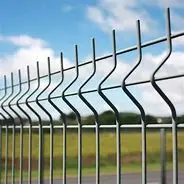
Welded wire fencing has become a favorite for homeowners, farmers, and contractors who need a balance of durability, security, and clean aesthetics. Whether you're enclosing a garden, marking a property boundary, or keeping small animals safe, the installation process is straightforward—but only if you understand the details that truly matter. Many guides oversimplify this job, but real success comes from thoughtful preparation, proper tensioning, and choosing the right materials upfront.
1. Start With a Clear Plan and Real Measurements
Before purchasing anything, walk the line where the fence will be installed. Look for slopes, loose soil, underground utilities, tree roots, or obstacles that could affect the layout. Mark your corners with flags or stakes and measure the full perimeter. A welded wire fence doesn't flex like chain link, so precise planning helps avoid awkward adjustments later.
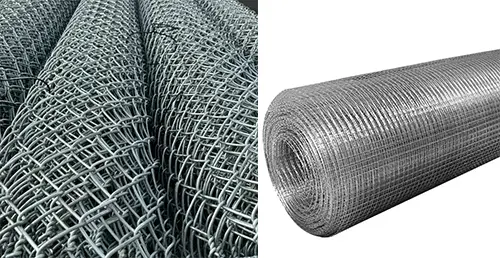
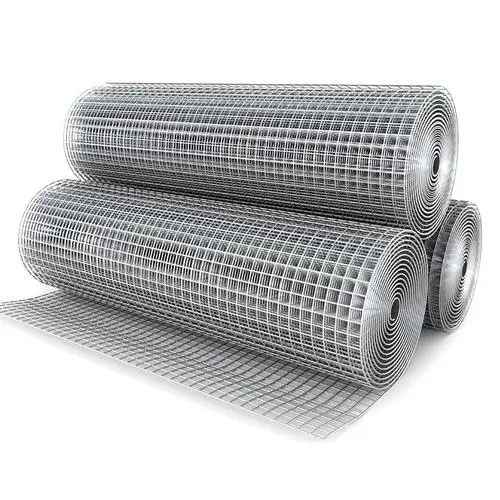
For most applications—gardens, dog enclosures, backyard boundaries—a mesh size between 1x1 inch and 2x4 inches works well. Thicker wire (10–12 gauge) provides more rigidity and is essential for areas exposed to wildlife or heavy weather.
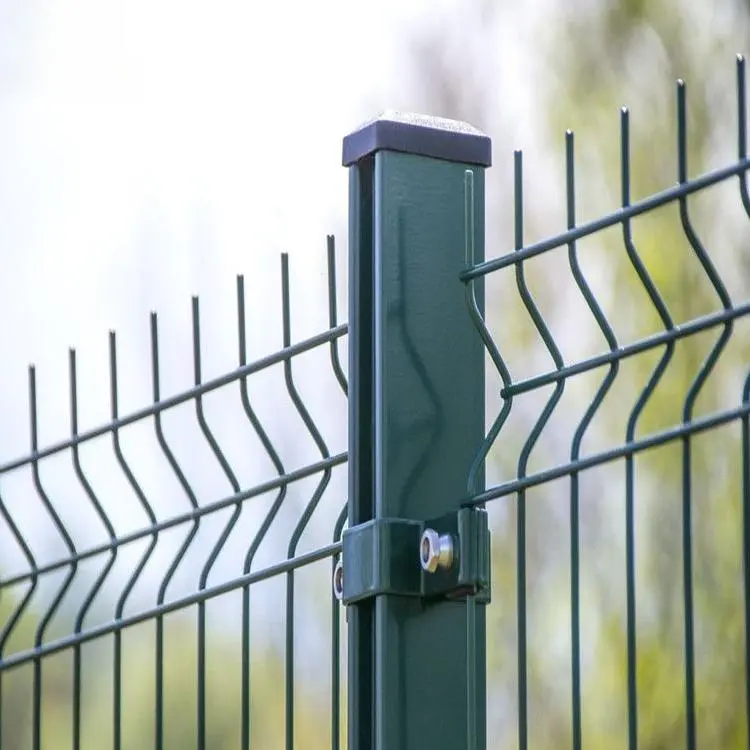
2. Choose the Right Posts and Spacing
Posts are the backbone of the fence. While many beginners focus on the mesh itself, the posts determine the fence's strength, alignment, and long-term stability.
-
Corner and end posts should be the heaviest. Use treated wood or heavy-duty steel T-posts.
-
Line posts can be lighter, but they must be spaced properly—usually 6 to 8 feet apart. Wider spacing may look cleaner but puts more pressure on the mesh when tension is applied.
For very uneven ground, shorter spacing prevents sagging and helps the fence follow natural contours.
3. Digging and Setting the Posts
Set wooden posts at least one-third of their total length into the ground, and secure them with concrete if the soil is soft or the fence will bear tension. Steel T-posts can be driven with a manual or powered post driver; they don't need concrete, but they must be perfectly vertical.
Corners deserve extra attention: they carry the load of tensioned wire, so make sure they are rock-solid. A small amount of extra effort here saves hours of re-stretching mesh in the future.
4. Unrolling and Tensioning the Welded Wire Mesh
Welded wire mesh is stiff, which is both a benefit and a challenge. It stays straight once installed, but handling the roll can be awkward. The key is tension.
Unroll the mesh along the fence line and stand it upright. Attach one end to a corner post using heavy-duty fencing staples or steel wire ties. Then pull the mesh tight using one of the following:
-
A come-along winch
-
A tractor bucket
-
A mesh puller board
Avoid pulling from just one wire; tension must be distributed across the full height of the mesh to prevent bending or breaking welds.
Once tensioned, the mesh should feel firm, almost like a drum. If it sags or ripples, release and re-pull it—the final look depends heavily on this step.
5. Fasten the Mesh Securely
Attach the mesh to each line post using wire ties, U-clips, or fencing staples. Start from the top, then work downward. The spacing between ties varies, but a good rule is:
-
Every 12 inches for high-security or animal enclosures
-
Every 18–24 inches for garden or property boundary use
At the bottom, ensure the mesh sits close to the ground. If you live in an area with burrowing animals, consider burying the bottom 6–12 inches or folding it outward to create a small ground apron.
6. Deal With Slopes and Uneven Ground
Slopes require patience. Welded wire doesn't twist or flex like woven wire, so installing on hills often means stepping the fence—raising one section slightly higher than the next—while keeping the top line visually even. For gentle slopes, you can let the mesh follow the ground naturally, but avoid pulling it so tight that the welds crack.
7. Add Gates and Finishing Touches
Once the mesh is in place, install your gate frame and hardware. Gates should be supported with heavier posts and diagonal bracing to prevent future sagging. After that, walk the entire fence line again and check for loose ties, shallow posts, or uneven sections. A welded wire fence should feel rigid and visually consistent from any angle.
What makes a welded wire fence satisfying is that the final result reflects the care put into each stage: solid corners, proper tension, and a layout that respects the landscape. When installed correctly, it becomes a long-lasting structure that doesn't just mark a boundary—it brings order, function, and a sense of completeness to any property.