


How to Install a 3D Fence: A Step-by-Step Guide for Durability and Style
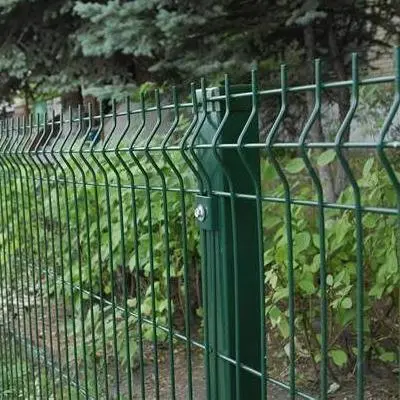
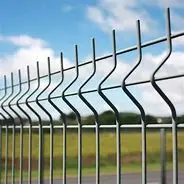
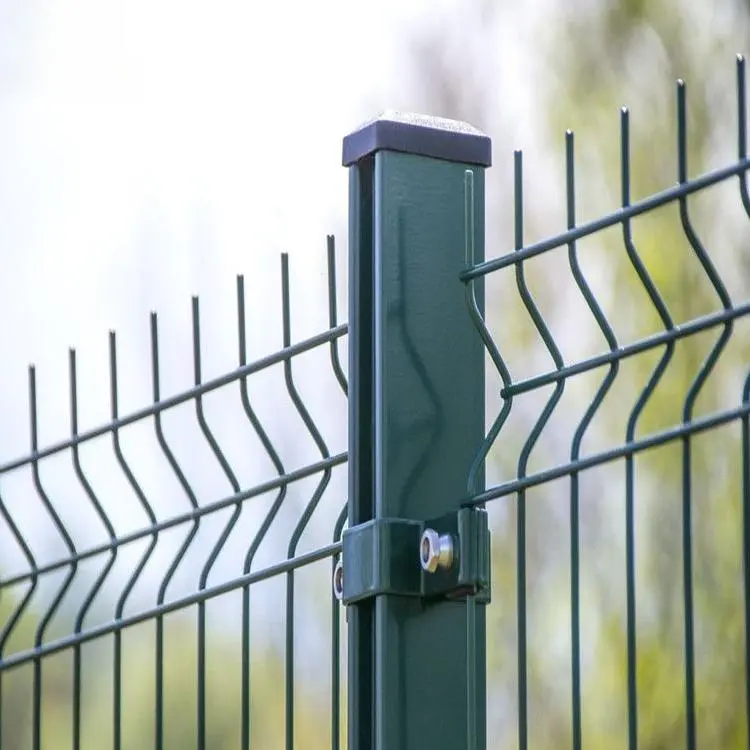
In the world of modern fencing, the 3D fence has emerged as a popular choice for both residential and commercial properties. Recognized for its distinctive "V" shaped bends that add rigidity and aesthetic appeal, the 3D fence blends security, style, and longevity. Whether you're enclosing a garden, securing a warehouse, or marking property boundaries, installing a 3D fence correctly ensures it will stand strong for years to come.
In this guide, we'll walk through the installation process, discuss key considerations, and share tips to help you achieve a professional finish.
1. Why Choose a 3D Fence?
Before we jump into the installation, it's worth understanding why this type of fence is gaining popularity:
Strength and Stability: The 3D bends enhance panel rigidity, reducing the chance of sagging.
Modern Aesthetics: Clean lines and geometric design suit contemporary architecture.
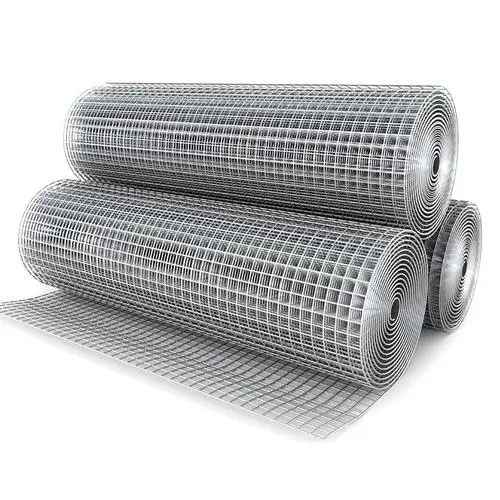
Low Maintenance: Typically made from galvanized steel with a powder-coated finish, it resists rust and corrosion.
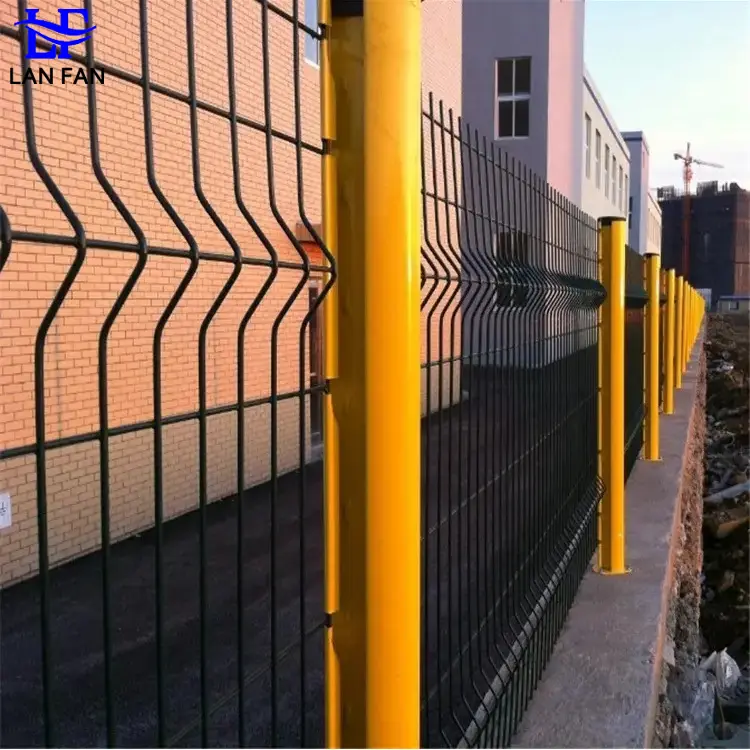
Versatility: Suitable for homes, parks, factories, schools, and sports facilities.
2. Tools and Materials You'll Need
To install a 3D fence, gather the following:
Materials:
3D fence panels
Fence posts (galvanized steel preferred)
Post caps
Fasteners or clips
Concrete mix
Gravel (optional for drainage)
Tools:
Measuring tape
String line and stakes
Post-hole digger or auger
Level
Spanner or socket wrench
Shovel
Safety gloves and goggles
3. Step-by-Step Installation Process
Step 1: Plan and Measure
Good planning is the foundation of a solid fence.
Mark the fence line with stakes and string.
Measure the total length to determine the number of panels and posts needed.
Check local regulations — some areas have height limits or property boundary rules.
Step 2: Prepare Post Holes
Space the holes according to panel width (usually 2.5–3 meters apart).
Dig each hole about 1/3 the height of the post deep (commonly 50–60 cm) and 20–30 cm wide.
Add a layer of gravel at the bottom for drainage.
Step 3: Set the Posts
Position the post in the center of the hole and align it vertically using a level.
Pour in concrete and ensure the post is plumb.
Let the concrete cure for at least 24 hours before attaching panels.
Step 4: Attach the Panels
Position the first panel against the posts.
Use the manufacturer's clips or brackets to secure it.
Check alignment frequently to maintain a straight fence line.
Step 5: Continue Along the Line
Move panel by panel, securing each before proceeding.
Maintain consistent height and spacing — a small error at the start can grow noticeable over distance.
Step 6: Finish with Post Caps
Once all panels are fixed, install post caps to protect against water ingress and give a polished look.
4. Professional Tips for a Long-Lasting Fence
Double-Check Levels: Even small tilts will stand out over time.
Consider Wind Load: In high-wind areas, ensure deeper post foundations or additional bracing.
Protect Against Corrosion: If cutting panels, treat cut edges with anti-rust paint.
Leave Expansion Gaps: Metal expands and contracts with temperature changes — avoid over tightening fasteners.
5. Common Mistakes to Avoid
Ignoring Ground Slope: Install panels to follow the terrain or use stepped installation for sloped sites.
Skipping Curing Time: Attaching panels before concrete sets can cause leaning.
Poor Drainage Planning: Water pooling at post bases accelerates corrosion.
6. Final Thoughts
A well-installed 3D fence doesn't just serve as a barrier — it adds value, style, and security to your property. By following proper installation techniques, choosing quality materials, and paying attention to details, you can create a fence that is both functional and visually appealing.