


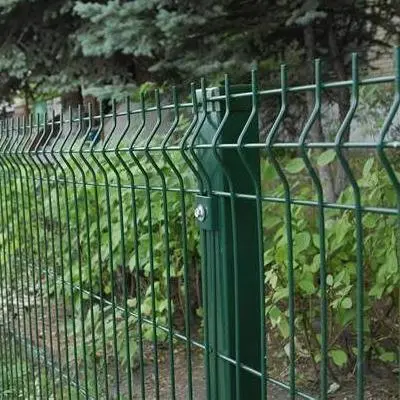
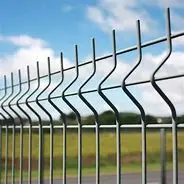
Quick Installation Techniques for 3D Fences
3D fences are becoming increasingly popular due to their unique shapes and excellent protective effects. Mastering quick installation techniques can greatly improve installation efficiency.
Before installation, thorough preparation is essential. First, carefully check whether all fence components are complete, including posts, crossbars, 3D fence panels, etc., to avoid interruption during installation due to missing parts. At the same time, prepare the required tools, such as electric drills, screwdrivers, wrenches, etc., and ensure that the tools are in good condition and suitable for the installation requirements. In addition, plan the fence layout according to the installation site, determine the positions of the posts, and make marks.
During installation, fix the posts first. Dig holes at the marked positions, and the depth depends on the height of the fence and the ground conditions, generally 30 - 50 centimeters. After placing the posts, use a spirit level to calibrate the verticality to ensure that the posts are perpendicular to the ground, and then fix them with concrete pouring. Wait for the concrete to solidify preliminarily. Then install the crossbars, fix the crossbars to the posts through connecting parts, pay attention to the levelness of the crossbars, and connect each section of the crossbars in turn to form the fence frame. Finally, install the 3D fence panels. Insert the fence panels into the slots of the crossbars in the order from bottom to top, and press firmly to ensure they are secure.
After the installation is completed, conduct a comprehensive inspection to check whether all components are tightly connected and whether the fence is stable. If any problems are found, adjust and reinforce them in a timely manner. Mastering these quick installation techniques can make the installation of 3D fences fast and of high quality, adding safety and beauty to your site.